
How to record a new formula

The ‘Reduction’ technique is weighing the base colours first then once you have created a colour, measure the unused ink to create the formula.

step 1
Start by making sure you have everything you need to hand. This includes the inks you will need to mix your desired colour, a colour swatch book, various mixing palette knives, cups, and some scales. Additionally you will need some test paper, a test screen and a squeegee!

step 2
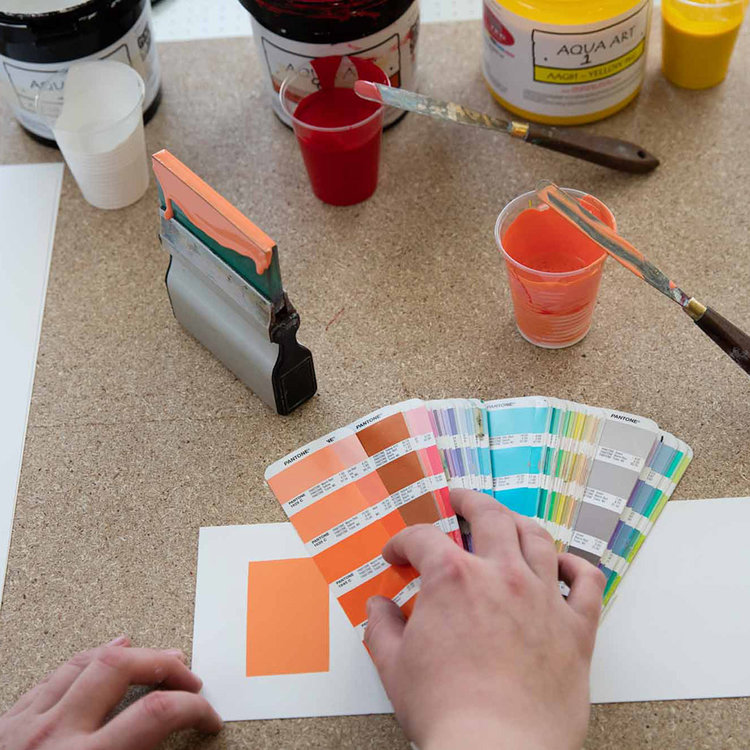
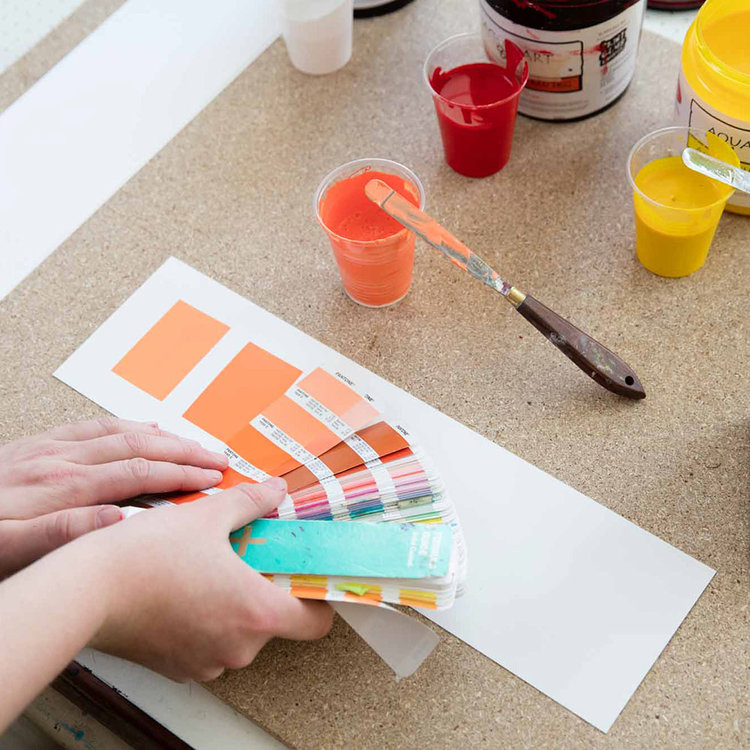
Find a similar colour in our colour library, make a note of its Base colours and any other base colours you think it may need.
step 3
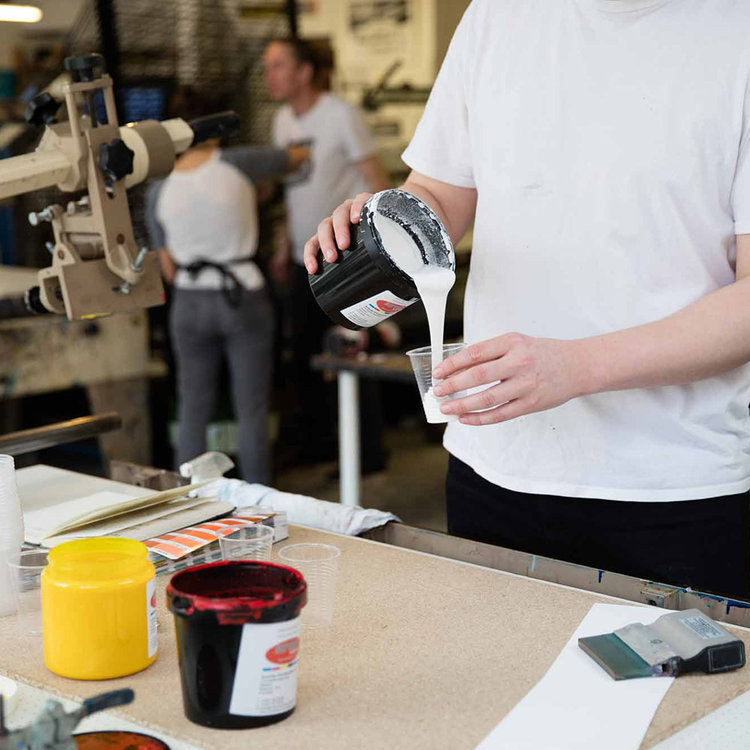
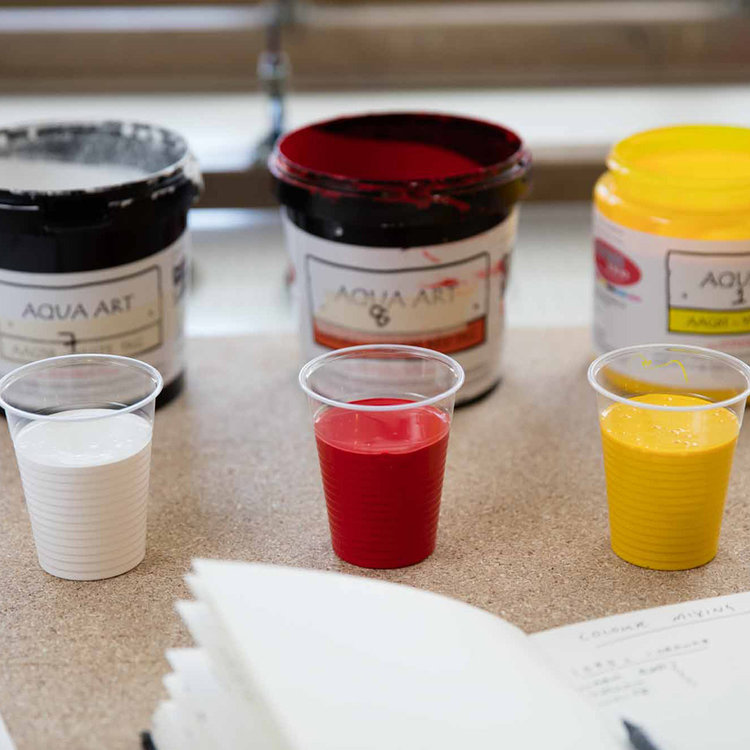
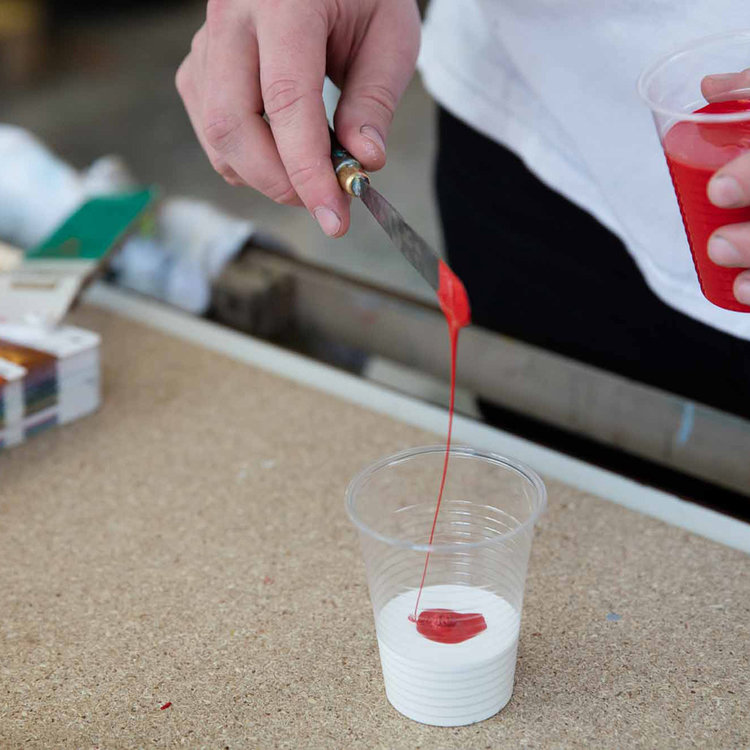
Now start by pouring the Base inks used in the formula, into separate identical cups. Try and pour in roughly the same amount to each, but it doesn’t have to be exactly the same.
step 4
Leaving you with something like this, 1 cup of ink for each colour you will need to mix your desired ink up.
step 5
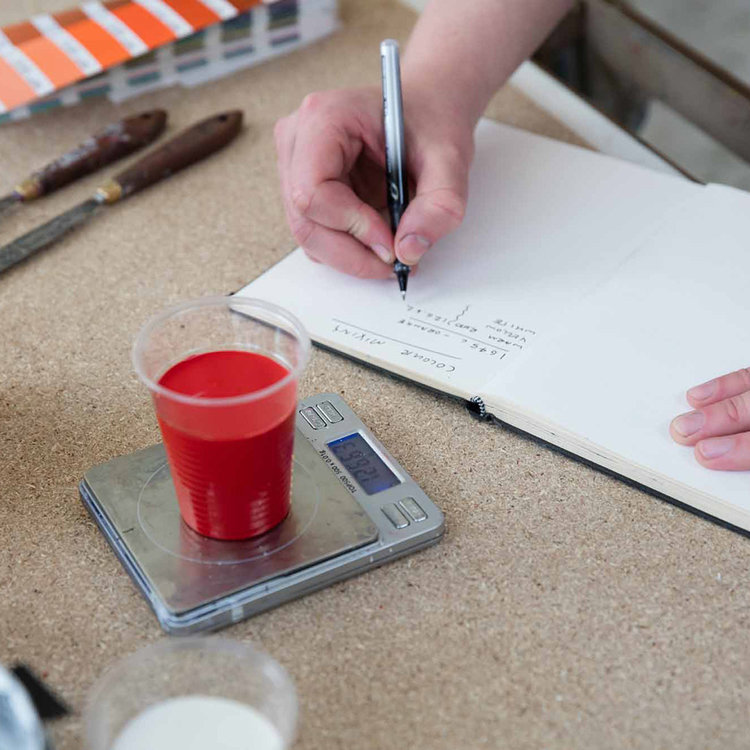
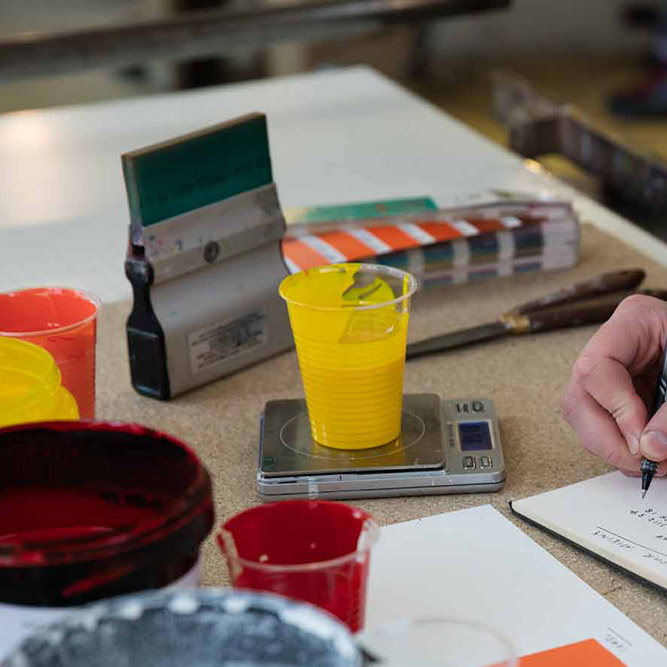
Now you need to weigh each pot and make a note of the weight of each one.
step 6
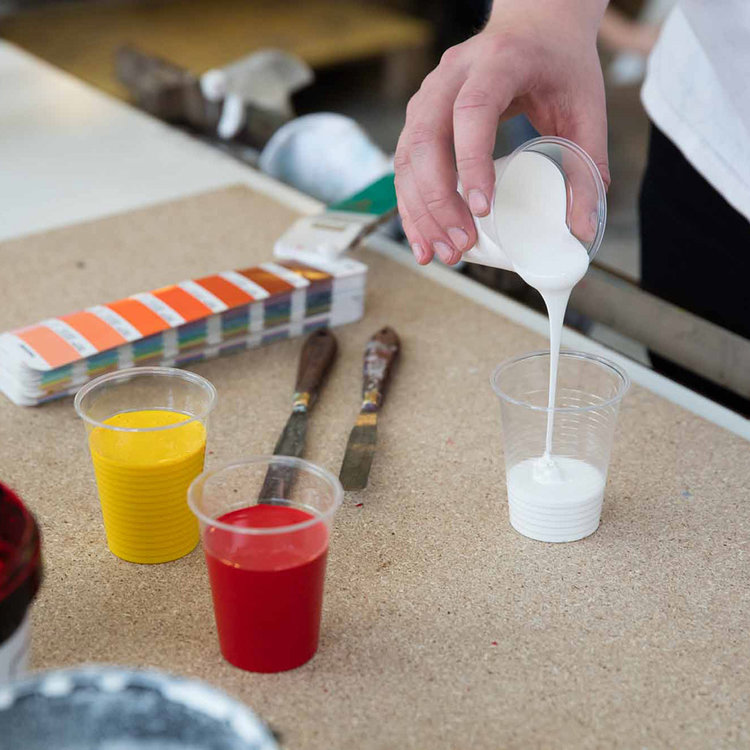
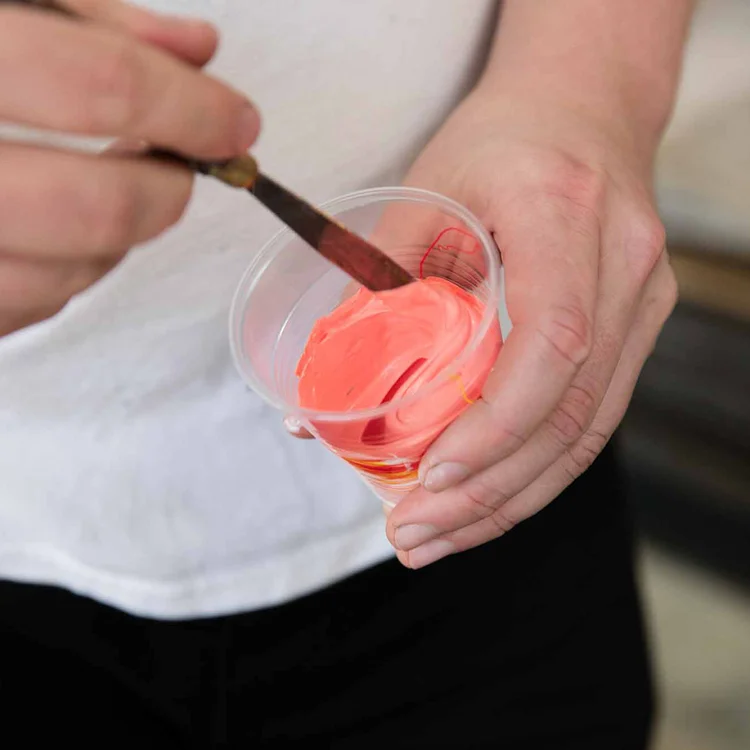
The next step is to get a new pot and start pouring inks in. This is the pot that you are going to mix your final colour up in. At this stage you are just using your eye to try and get close to the colour you need. Try and keep your ink pots separate and don’t contaminate the colours together.
step 7
Using a palette knife at this point can really help as it allows a precise amount of ink to be poured into your mixing pot.
step 8
Make sure you mix the inks up very well in your pot.

step 9
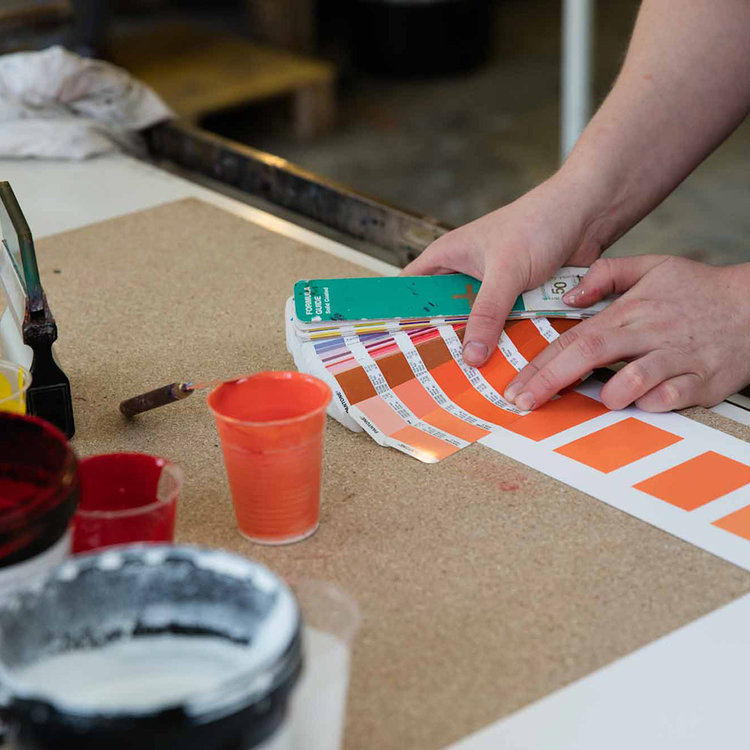
Refer to your colour swatch book to see if the colour is close to it. The colour will look slightly different when printing so don’t treat this as final!
step 10
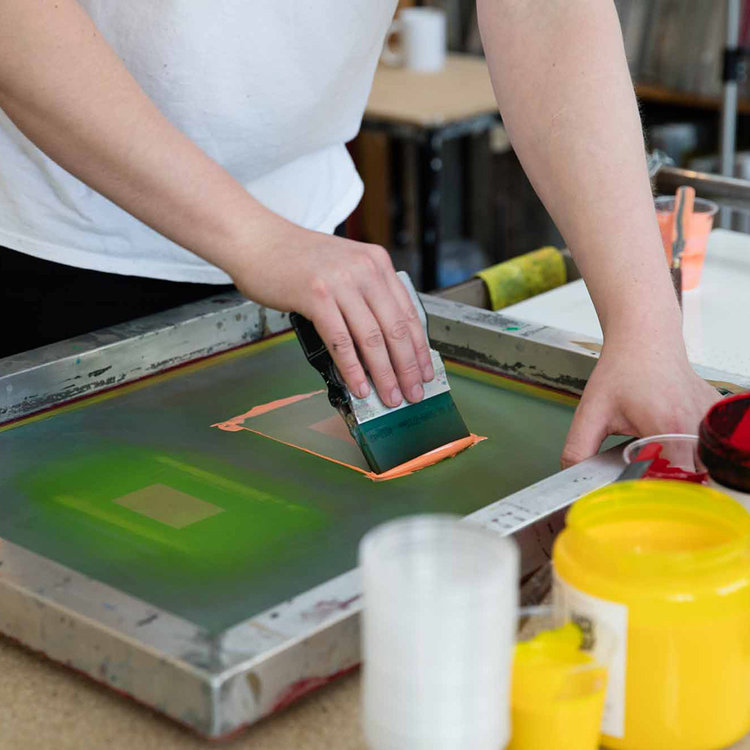
Using a small screen with a little square exposed into it you can do a test print using your colour. If you have a small screen you shouldn’t need to lock your screen into a bed, and can instead your hand to hold your frame up creating a snap and allowing you to print. Once you’ve printed be sure to clean the ink out of your screen.
step 11
You can now look at your colour swatch book and see how close your colour is. In this case the colour is a bit lighter than it needs to be so a bit more red should be added.
step 12
The red has been added and another test print has been done. Here you can see its still a bit too light, so more red will be added again.
step 13
The colour has been mixed and re-printed 2 more times and is now spot on! It can take some time to mix by eye, but be delicate with the amounts added each time. If you use too much of one colour then it might not be possible to mix up your desired colour with your initial range of inks.
step 14
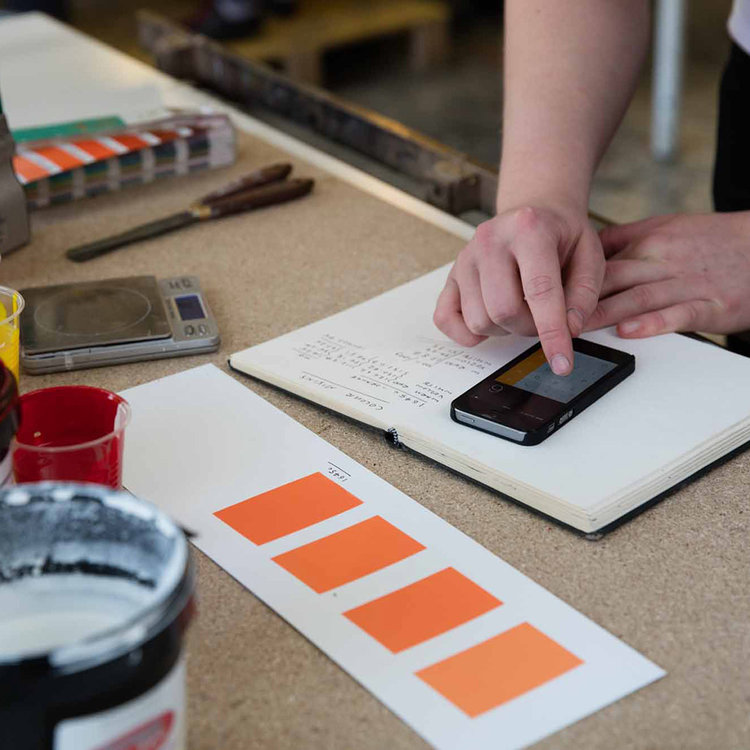
The next step is to measure how much ink remains in each of your pots and make note of it next to how much the pot originally weighed. Then subtract the totals from each other to work out how much of each ink you used from each pot.
step 15
By knowing how much you used you can now work out the ratios of each ink required to mix your desired pantone colour. Start by adding the weight together of all the ink used. Then divide the weight of each ink by the total sum and multiply by 100. This will give you a percentage out of 100 to know how much of each colour to use. Make sure your ratios add up to 100 at the end and the formula is complete!